


SDAF.png)
%20(1000%20x%201000%20px)%C3%A1dwf.png)


Why Does Your DIY Pedal Have No Sound or Just Noise? Here Are 10+ Classic Reasons
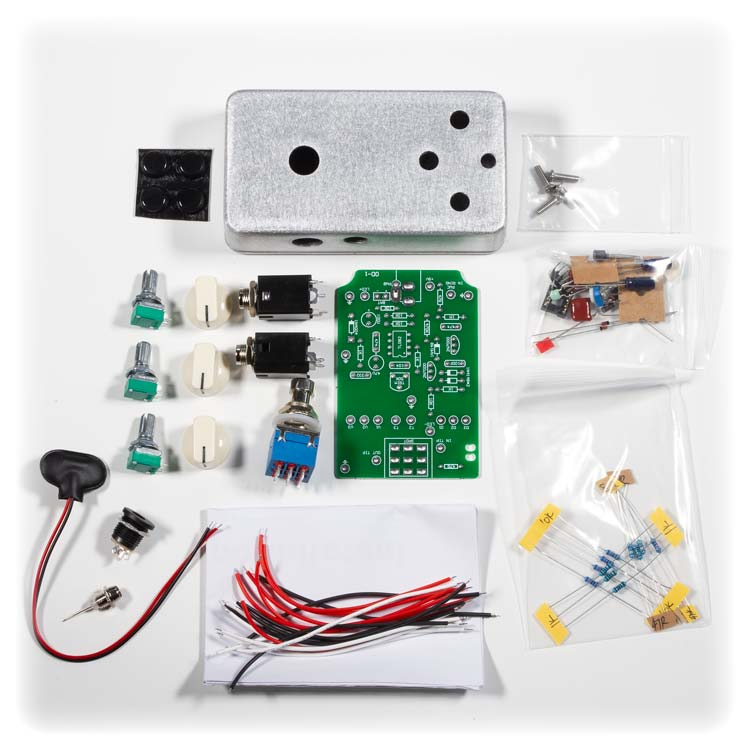
You’ve just finished building a DIY pedal. You plug in the cables, power it up, stomp the switch—and… nothing. Or worse: all you hear is a relentless “buzzzzz,” like a hive of angry bees. Don’t worry—every DIYer has been there. Here’s a list of the most common causes for a homemade pedal to go silent, buzz, or behave as erratically as freshman-year romance.
-
Loose pots, jacks, or switches—and no enclosure grounding
This is classic. If your input/output jack or footswitch isn’t firmly tightened to the enclosure, the metal shell may not be properly grounded—especially if you’re relying on a metal jack to ground itself. Without a solid chassis ground, your circuit is prone to noise, crackle, or complete signal loss when you touch it.
→ Tighten everything. And if you’re using plastic jacks, be sure to run a separate ground wire to the enclosure. -
Soldering the jack wrong or wiring the cables backwards
Many people mix up tip ↔ ring ↔ sleeve when wiring TRS jacks. Others accidentally wire the output cable into the amp input. Then they sit scratching their heads wondering why there’s no sound.
→ Don’t rush. Verify which lug is tip (signal), ring (often unused in mono), and sleeve (ground). And if you only need a mono jack, stick with TS. -
Reversed polarity on the DC jack
Guitar pedals use a negative center (–) jack, unlike many Arduino boards or laptop chargers, which are positive-center (+). If you wire it backwards, the pedal simply won’t power up.
→ Double-check your DC jack’s polarity marking before soldering. -
Overheating components when soldering
Leaving the soldering iron on a potentiometer lug too long can ruin the carbon track inside. Electrolytic or tantalum capacitors can also pop or crack from heat shock.
→ Keep your iron at a moderate temperature (around 350–370 °C with quality solder) and work efficiently. -
Cold solder joints
You think you’ve soldered it, but the joint is only “tacked” and the signal can’t pass—or passes intermittently.
→ Use quality solder and a stable iron. After soldering, inspect your joints: any joint that looks dull, grainy, or “pasty” should be reflowed. -
Miswired 3PDT footswitch
The 3PDT switch is notorious for ruining true bypass wiring. A single wrong lug can turn your true bypass into false hope.
→ Follow a trusted wiring diagram. Don’t assume lugs are in the same orientation on every switch. -
Blown op‑amp or transistors
You may have popped an IC or transistor by reversing power polarity, wiring a chip pin incorrectly, or briefly shorting power rails. A completely silent pedal that stays silent no matter what can be a dead op‑amp.
→ Swap in a fresh op‑amp or transistor if nothing else restores life. -
Excessive supply voltage
Feeding 12 V or 18 V into a circuit designed for 9 V is a quick way to blow ICs.
→ If your board lacks reverse-polarity or over‑voltage protection, add a Schottky diode (e.g. 1N5817) or an appropriate TVS diode on the power input. -
Missing components
Everyone occasionally forgets a resistor or capacitor, especially on stripboard or veroboard layouts. Missing just one bypass capacitor can turn your tone into a jackhammer.
→ Check your parts list against your layout. Highlight each component as you install it. -
No common ground between digital and analog sections
If your pedal has an Arduino or relay logic plus analog op‑amp stages, a “floating” ground can kill your signal or fill it with noise. Worse, ground loops will introduce a loud hum.
→ Use star grounding: tie all grounds back to a single point (usually the sleeve of the input jack). -
Ignoring input ground when bypassed
In a true‑bypass pedal, if you only route the signal path and forget to connect the input ground when the pedal is off, you’ll hear loud pops or no signal at all.
→ Wire your 3PDT or relay so that the input’s ground is switched alongside the signal when bypassed. -
Missing power‑supply decoupling caps
Some minimalist boards omit the 100 µF or 47 µF bulk cap, resulting in a noisy power rail and background hiss. Digital chips without nearby decoupling can also freeze or misbehave.
→ Add a bulk electrolytic cap at the power entry and 0.1 µF ceramic decoupling caps close to each IC’s supply pins. -
No DC‑blocking (coupling) capacitors
Skipping input or output coupling caps lets DC offset into your amp, causing pop, hum, or potential speaker damage.
→ Include at least a 100 nF–1 µF coupling cap on the input and/or output stage. -
Reversed electrolytic capacitor polarity
Installing an electrolytic cap backwards not only breaks the circuit but risks a small explosion. This is especially critical for power‑rail caps.
→ Always identify the negative lead (stripe) and match it to the lower potential. -
Fake or low‑quality components
Sometimes you’ve done everything right but still get noise or silence—counterfeit or dud parts are often to blame. Low‑HFE transistors or sub‑par op‑amps can ruin your build.
→ Buy from reputable suppliers and check for part markings or datasheet specs. -
Wrong component value—misreading the BOM or schematic
A resistor labeled R5 might be 10 kΩ in v1 of a design but 100 kΩ in v2. Installing the wrong diode or clipping transistor can skew bias, crush gain, or kill the signal.
→ Always cross‑reference the BOM with your specific PCB version and schematic. -
IC installed backwards or in a bad socket
Even with silkscreen, ICs get flipped. And cheap sockets can have poor contact. An IC backwards is a dead silence; badly seated, it’s intermittent.
→ Align the “pin 1” dot with the board mark, use quality sockets, and reseat if in doubt. -
Missing jumpers or mode‑select links
Prefab boards often require jumpers to select true bypass vs. relay switching modes, clipping diode type, etc. Forgetting one means an incomplete circuit.
→ Consult the board’s README or silk labels and populate all jumpers as directed. -
Solder bridges or shorts
It’s easy to accidentally bridge adjacent pads, especially under fine-pitch ICs or between mask‑thin traces.
→ Use a continuity tester to spot unintended shorts, particularly around noisy or dead sections. -
Jack/switch footprint mismatch
Some PCBs follow Switchcraft jack layouts, others Lumberg. Using the wrong footprint can misalign lugs and ground/signal assignments.
→ Test-fit your parts before soldering to ensure correct alignment. -
No reverse‑polarity protection diode
Many DIY PCBs omit a D1 footprint for a reverse‑polarity diode. Plugging in a reversed adapter will fry everything from op‑amps to microcontrollers.
→ If you see an empty “D1” pad, fit a 1N5817 or 1N4007 right away. -
Potentiometer or transistor legs swapped
It’s easy to mistake pin 1, 2, and 3 on pots or use an NPN transistor where a PNP is specified. That wrong leg placement can render your pedal silent or wildly distorted.
→ Verify pinouts against component datasheets and double‑check before soldering.
By systematically working through these checks—mechanical connections, wiring polarity, solder quality, component placement, and proper grounding—you’ll eliminate nearly every “no sound” or “noisy” disaster in your DIY pedal builds. Happy soldering!
Buy me a coffee if you like this post

